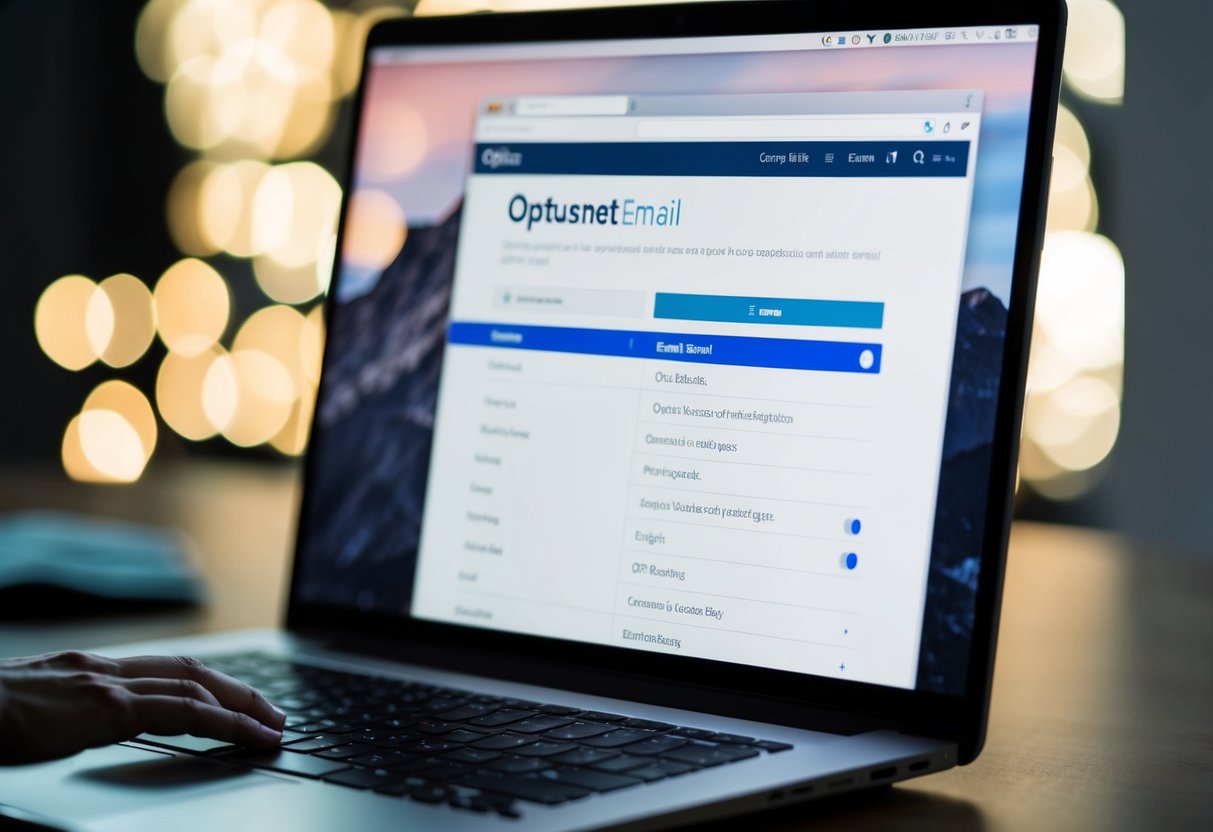
Optusnet Email Settings: Comprehensive Configuration Guide
Navigating the world of email settings can sometimes be tricky, but understanding your Optusnet email settings doesn't have to be a headache. Making sure your email client is configured correctly is essential for seamless communication. The most critical settings include using mail.optusnet.com.au for both incoming and outgoing server addresses. Once you have the right configuration, you can send and receive emails smoothly on all your devices.
Whether you're setting up email on your computer or mobile device, following the correct procedure is key. IMAP is commonly used, ensuring your emails stay synchronized across various platforms. With Optus, consistent server settings across devices ensure your messages are always accessible, no matter where you check your email.
If you encounter any issues, basic troubleshooting steps might resolve them quickly. Double-checking that your username and password are entered correctly, and verifying server addresses can often clear up common problems. Having these details at your fingertips makes tackling email issues much simpler.
Key Takeaways
- Use mail.optusnet.com.au for incoming and outgoing server settings.
- Ensure IMAP is enabled for email synchronization across devices.
- Troubleshoot by verifying your email settings and login details.
Setting Up Your Optusnet Email
Getting started with your Optusnet email is straightforward. This guide will walk you through creating a new account and setting up your account and sender information.
Creating a New Optusnet Email Account
To create a new Optusnet email account, visit the Optus website. Look for the option to set up a new email account.
You will need to provide basic information like your username and password. Your username usually excludes "@optusnet.com.au" but check for any specific instructions.
Make sure your password is strong, combining letters, numbers, and symbols for security.
After creating your account, note down your username and password in a secure location. This will ensure that you can easily access your email in the future.
Account and Sender Information
When setting up your account, you'll need to enter specific details into your email program settings.
For incoming mail, use mail.optusnet.com.au and for outgoing mail, do the same. Make sure to select IMAP as your account type for better email synchronization.
Your sender name should be your displayed name in emails you send. Enter your email address and username in the required fields of your email client.
Configure your email settings so that your emails send and receive smoothly. Double-check your email address and password for accuracy to prevent login issues. Ensure these settings are correct to start using your Optusnet email efficiently.
Incoming Server Settings

To set up your OptusNet email in an email client like Outlook 365, you need to configure the IMAP settings and adjust the server ports and security options. These ensure that emails are accessed and transferred securely and efficiently.
IMAP Configuration
The IMAP protocol allows you to access and manage your emails on various devices while keeping them synchronized. For OptusNet, begin by selecting 'IMAP' as the account type when adding your email account.
Your incoming mail server should be:
mail.optusnet.com.au
For your username, use your full OptusNet email address without @optusnet.com.au.
It is important to ensure that your settings match exactly to prevent any connectivity issues.
Server Ports and Security
Configuring the server port and security settings is crucial for reliable email access. OptusNet uses the following port numbers and encryption settings:
- Incoming Port Number: 143 without SSL or 993 with SSL.
Security settings might require you to use SSL/TLS, which encrypts your emails for privacy and protection. In email clients, you often need to choose an encryption method like SSL or TLS to secure your connection.
It’s recommended to verify these settings if emails fail to send or receive correctly. Make sure the proper port and encryption are selected in your email client's settings for seamless operation.
Outgoing Server Settings
When setting up your Optusnet email, the outgoing server settings are crucial for sending emails securely. It's important to configure the SMTP server correctly and choose the right ports and security options to ensure smooth email delivery.
SMTP Configuration
To configure your outgoing server for Optusnet, you will use the SMTP protocol. The server address you need is smtp.optusnet.com.au. Ensure you have the correct username and password for authentication. It's often your full email address and the same password you use to log into your email account. Authentication is necessary for sending emails through the SMTP server.
Enabling SSL (Secure Socket Layer) encryption is recommended to secure your outgoing emails. This helps protect your email content and login details from unauthorized access. If SSL is available, always opt for SSL/TLS for better security in your email transactions.
Server Ports and Security
Using the correct server port is essential for Optusnet's outgoing email. The standard port for SMTP with SSL encryption is 465. If SSL is not available, you may use port 587 with STARTTLS as an alternative for encryption. These settings help ensure that your emails are transmitted securely without bouncing back due to incorrect configurations.
Security is a priority, so choose SSL or STARTTLS when setting your server ports. This encryption protects your data by encoding it during transmission. Failing to use the correct port number or security setting can lead to issues with sending or might expose your email to potential threats.
Configuring Email Clients
Setting up your Optusnet email on an email client requires specific details. Knowing the correct server settings and authentication process is crucial for a smooth configuration. This ensures a reliable connection for accessing your email on different platforms.
Email Client Setup
To configure an email client like Thunderbird or Apple Mail, you need the right server settings. First, ensure the client supports IMAP/SMTP. IMAP (Internet Message Access Protocol) allows you to access your email from multiple devices.
Input the following details:
- Incoming mail server:
mail.optusnet.com.au - Port:
993with SSL/TLS security - Outgoing mail server:
mail.optusnet.com.au - Port:
587with STARTTLS encryption
For authentication, enter your username (without @optusnet.com.au) and password. These details are crucial for verifying your identity and ensuring a secure communication link between your client and the server.
Microsoft Outlook
Setting up your Optusnet email in Microsoft Outlook requires careful attention. Start by opening Outlook and selecting the File tab. Choose Add Account, insert your full email address, and opt for manual configuration.
Choose IMAP as your account type. For incoming server settings, use:
- Server:
mail.optusnet.com.au - Port:
993 - Security: SSL/TLS
Outgoing server settings are similar:
- Server:
mail.optusnet.com.au - Port:
587 - Encryption: STARTTLS
Enter your username and password to authenticate. Correct configuration ensures that Outlook syncs with your Optusnet email seamlessly, allowing you to send and receive emails efficiently.
Mobile Email Setup
Setting up your Optusnet email on a mobile device is crucial for staying connected. You need to configure it properly on both iOS devices and ensure smooth email retrieval.
iOS and iPhone Configuration
To set up Optusnet email on your iPhone, start by opening the Settings app from the home screen. Select Mail, then Accounts, and tap Add Account. Choose the Other option, and select Add Mail Account. Enter your name, email address, password, and a description for the account.
Next, ensure you select the IMAP option. Use your email address for both the incoming and outgoing mail servers. For incoming mail, set the host name to mail.optusnet.com.au, and use port 143. For outgoing mail, set the host name to mail.optusnet.com.au, and use port 25. Authentication should be set to password.
Email Retrieval on Mobile Devices
To retrieve emails effectively on your mobile, ensure synchronization is enabled. To do so for your iPhone, go to Settings, tap Mail, then Accounts, select your email account, and enable Mail under the account settings.
Frequent email checks help in staying updated. To manage this, go to Settings, select Mail, then Accounts, tap Fetch New Data, and choose how often you want your device to check for new mail.
For immediate retrieval, you can use the Push option if supported by the server. Adjust settings based on your needs to balance performance and battery usage on your mobile phone. Always make sure that your email client is configured to handle IMAP settings correctly.
Troubleshooting Common Issues
When using OptusNet email, you might encounter problems such as authentication errors or difficulties sending and receiving emails. Addressing these issues involves checking your email settings, ensuring correct details like the username, password, and port numbers, and confirming that the right encryption method is active.
Authentication Errors
Authentication errors often occur when login details are incorrect. Make sure that your email client is set up with the right username and password. Double-check for typing mistakes and confirm your login details are current. OptusNet usually requires them to match what's on their servers.
In addition to the basic login information, your incoming server settings should point to mail.optusnet.com.au with port 993 for IMAP and use SSL/TLS encryption. These settings ensure secure access. If issues persist, try resetting your password on the Optus website to see if that solves the problem.
Sending and Receiving Issues
If you can't send emails, verify your outgoing server settings. For OptusNet, the SMTP server should be smtp.optusnet.com.au, using port 587 with authentication checked. Also, ensure that SSL/TLS is enabled for secure email transmission. Incorrect port settings or missing encryption can disrupt email flow.
For receiving issues, confirm your incoming settings again. Checking these configurations helps resolve problems like not finding new emails in your inbox. Occasionally, you may need to refresh the connection or restart your email client. This simple step can refresh connections and clear temporary issues affecting email delivery.
Frequently Asked Questions
Configuring Optusnet email can vary by device and software. Use the proper settings for iPhone, Android, or email clients like Outlook and Thunderbird. Ensure you know the exact server names and ports required for setup.
How can I configure my Optusnet email on an iPhone?
To set up Optusnet email on an iPhone, open the Mail app and select Add Account. Choose Other, then add a Mail Account. Enter your name, email address, and password. Use mail.optusnet.com.au for incoming and outgoing servers with IMAP.
What are the correct POP3 settings for Optusnet email?
For POP3, the incoming mail server is mail.optusnet.com.au with port 110 (non-SSL) or 995 (SSL). The outgoing server (SMTP) is mail.optusnet.com.au, using port 25 or 465 with SSL. Input your full email address as the username.
How do I set up Optusnet email in Microsoft Outlook?
In Outlook, go to File, then Account Settings. Choose New to create a new account. Enter your email details, select IMAP or POP, and provide incoming and outgoing server information: mail.optusnet.com.au. Ensure the ports are correct for your chosen protocol.
How do I set up Optusnet email on an Android device?
On Android, open the Email app and choose Add Account. Enter your Optusnet email and password. Select POP3 or IMAP, then input the incoming server mail.optusnet.com.au and outgoing server details. Use the correct port numbers for your settings.
How do you configure Optusnet email on Outlook 365?
In Outlook 365, click File and then Add Account. Enter your Optusnet email address. Select Advanced options to manually configure the server settings. Input mail.optusnet.com.au for both incoming and outgoing server information, and specify IMAP or POP details.
How to integrate Optusnet email with Mozilla Thunderbird?
Open Thunderbird and select Email under Set Up an Account. Then, enter your Optusnet account information and choose Manual Config. For both incoming and outgoing server settings, use mail.optusnet.com.au. Make sure to select IMAP or POP as needed and adjust the port numbers correctly.
Weitere Beiträge
Einfache Anleitung: iPhone Mail GMX einrichten
vor 11 Monaten
Voicemail Ansage ändern auf deinem iPhone: So geht's!
vor 11 Monaten